In the world of underground fiber deployment, the most expensive asset isn’t the glass—it’s the hole in the ground. As urban centers become more connected, the traditional PVC and HDPE pipes buried beneath our streets have reached a breaking point. For many Operations Managers, the standard response to a “full” duct is to apply for expensive trenching permits and start digging.
But what if your ducts aren’t actually full? What if the “congested” pipe currently housing three or four legacy cables could actually fit nine more?
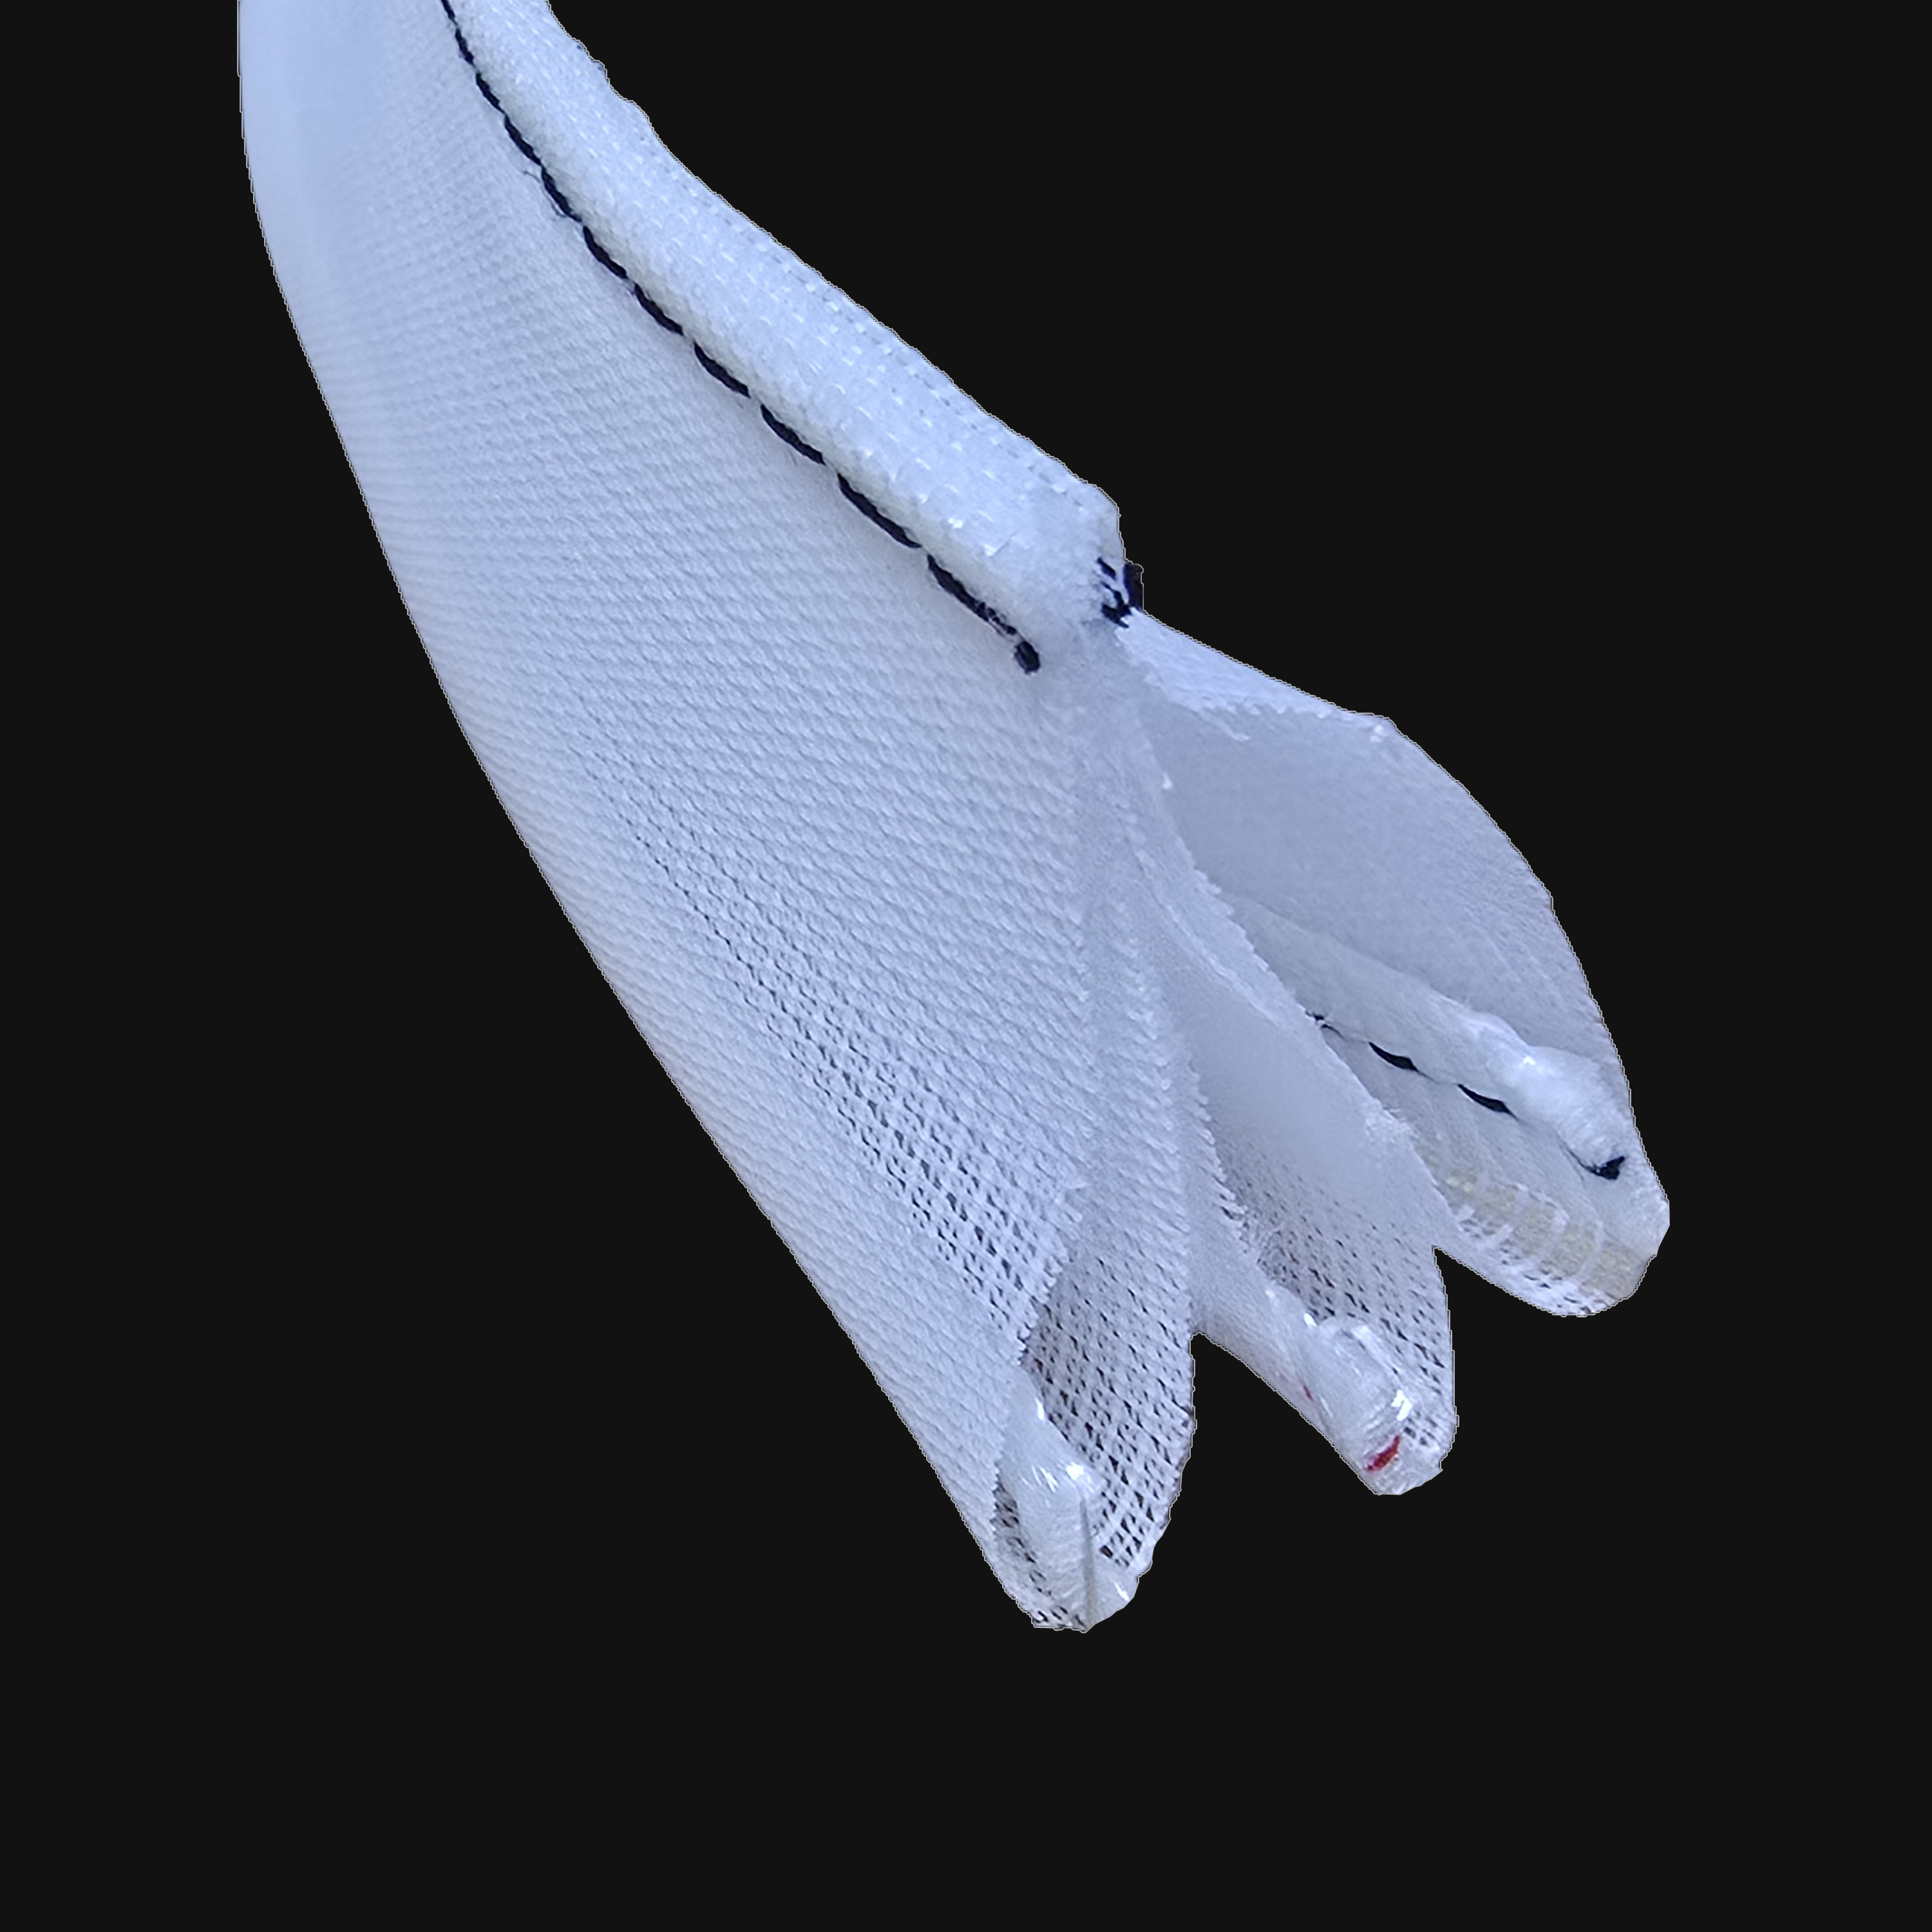
This is where Fabric Innerduct (often known by the brand MaxCell) changes the game. However, the biggest hurdle to adoption is uncertainty: How can I be sure it will fit without damaging the active fibers already in the pipe?
In this post, we’ll explore the precise methodology for assessing occupied duct space and how you can plan a fabric innerduct overlay without a single second of network downtime.
The “Hard Pipe” Trap: Why Traditional Assessments Fail
Traditional rigid innerducts are circular and unforgiving. If you have a 4-inch duct with three cables in a triangular configuration, a rigid innerduct simply cannot “squeeze” past them. This leads many engineers to declare a duct “exhausted” when 60% of its physical volume is actually just empty air.
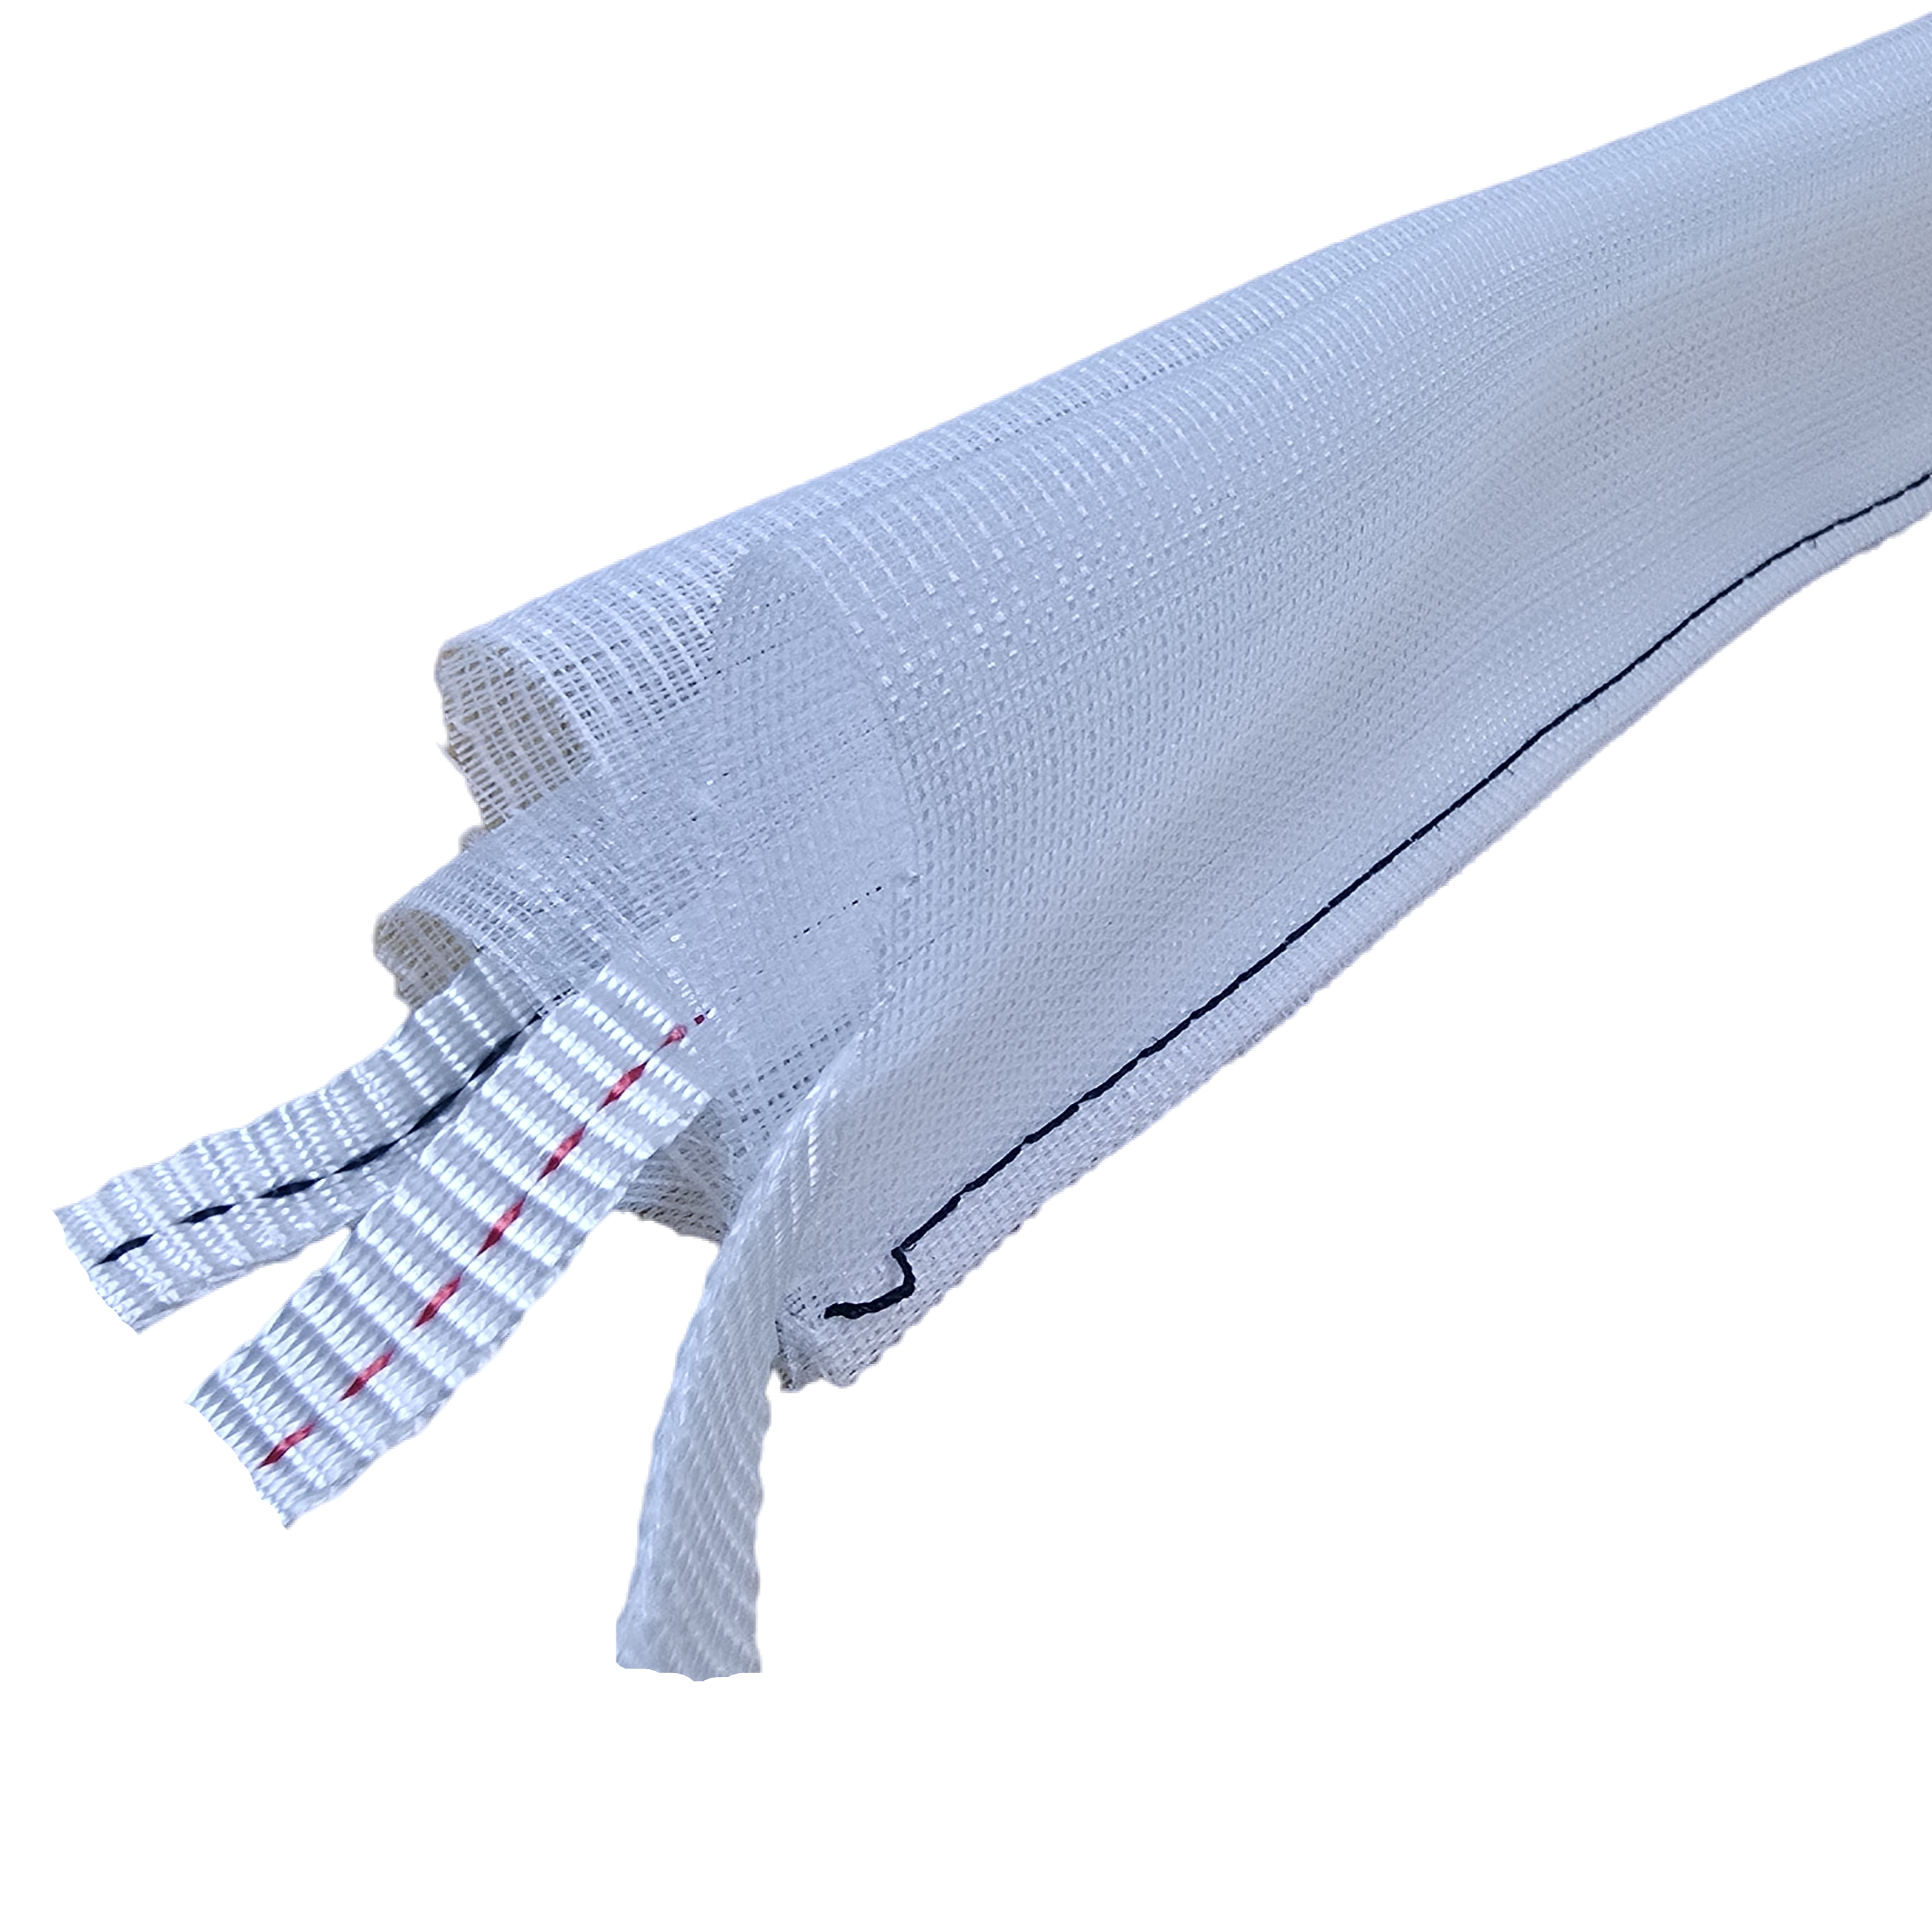
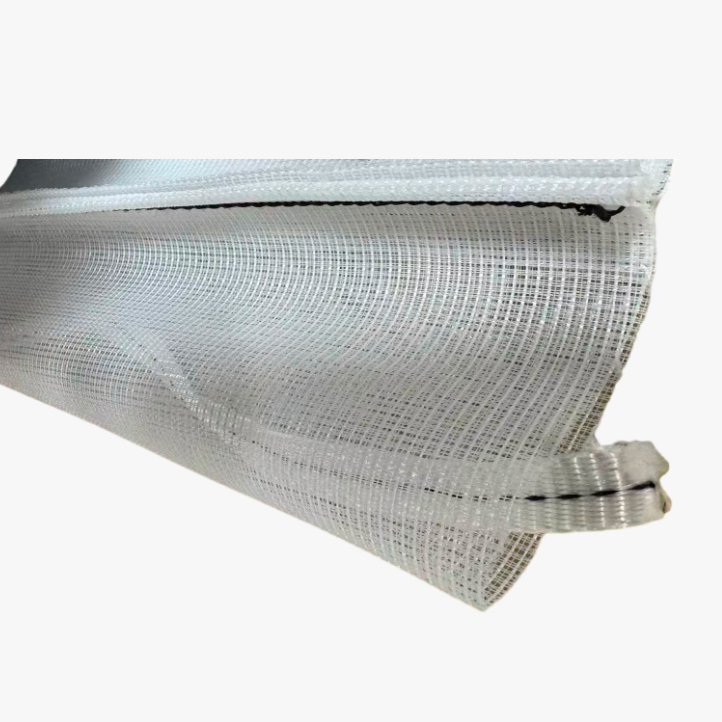
Fabric Innerduct is different. Because it is flexible and conforms to the shape of the cables already in situ, it can utilize the “irregular” gaps that rigid pipes cannot. But before you pull, you must assess.
Step 1: The Non-Intrusive Visual Audit
The first step in any assessment is a high-resolution visual inspection. Modern CCTV Duct Cameras (specifically “push cameras” with slim profiles) are essential.
- What to look for: You aren’t just looking for space; you are looking for cable “slack” and “crossover.” If cables are neatly parallel, your success rate for a fabric innerduct overlay is near 100%. If they are tightly braided or spiraled, the effective space is reduced.
- The Pro-Tip: Perform the inspection from both ends of the manhole-to-manhole span. Often, a blockage or “bunching” occurs only near the duct entrance.
Step 2: The Mathematical “Fill Ratio” Calculation
To determine if a fabric innerduct will fit, we use a specialized fill-ratio formula that accounts for the flexibility of the fabric.
For a standard rigid pipe, the rule of thumb is never to exceed 40% fill. With fabric innerduct, because the “wall” of the product is paper-thin and moves with the cable, we can often push the Effective Fill Ratio to 70% or higher.
The Formula for Operations Managers:
- Calculate the Total Cross-Sectional Area (CSA) of the inner diameter of the main duct.
- Calculate the CSA of all existing cables.
- Subtract the cable CSA from the duct CSA.
- Compare the remaining “Free CSA” to the footprint of a collapsed fabric innerduct.
If the math shows a 25% margin of safety, the duct is a prime candidate for fabric overlay.
Step 3: The “Mandrel Test” (The Safe Way)
To ensure there are no hidden collapses or debris, we recommend a Flexible Mandrel Test. Unlike a heavy iron mandrel used for new construction, a “Proofing Mandrel” for occupied ducts should be made of soft urethane or a flexible segmented material.
By pulling a sized mandrel through the duct on a lightweight pull-string, you can “feel” the tension. If the mandrel passes without snagging the active cables, a fabric innerduct—which is even more flexible—will follow easily.
Step 4: Measuring Friction and Tension Limits
Operations Managers fear one thing above all: Tension. If you pull a new innerduct and it puts too much strain on the active fiber, you risk micro-bends or signal loss.
Fabric innerducts are pre-lubricated and designed with integrated pull tapes that have a specific tensile strength. During your assessment, you must calculate the Sidewall Pressure. Because fabric innerducts weigh significantly less than HDPE, the sidewall pressure during the pull is often 60-80% lower, making it the safest option for “live” environments.
Why “Wait and See” is a Risky Strategy
Many companies wait until a duct is 100% physically blocked before looking for alternatives. By then, it’s too late for an overlay. The ideal time to assess and install fabric innerduct is when your duct is 50% to 70% occupied.
By installing a 3-cell fabric innerduct now, you effectively “divide” the remaining 30% of space into three clean, protected pathways. You are essentially future-proofing your maintenance window for the next decade.
The SmartOSP Advantage: Engineering Certainty
At SmartOSP, we specialize in the transition from congested, legacy “hard” networks to high-density, flexible infrastructure. We understand that as an Operations Manager, you cannot afford to “guess” when it comes to active fiber.
Our team provides:
- Site-Specific Compatibility Reports: We help you crunch the numbers on your specific cable diameters.
- Installation Guidance: Best practices for “Overriding” existing cables without causing service interruptions.
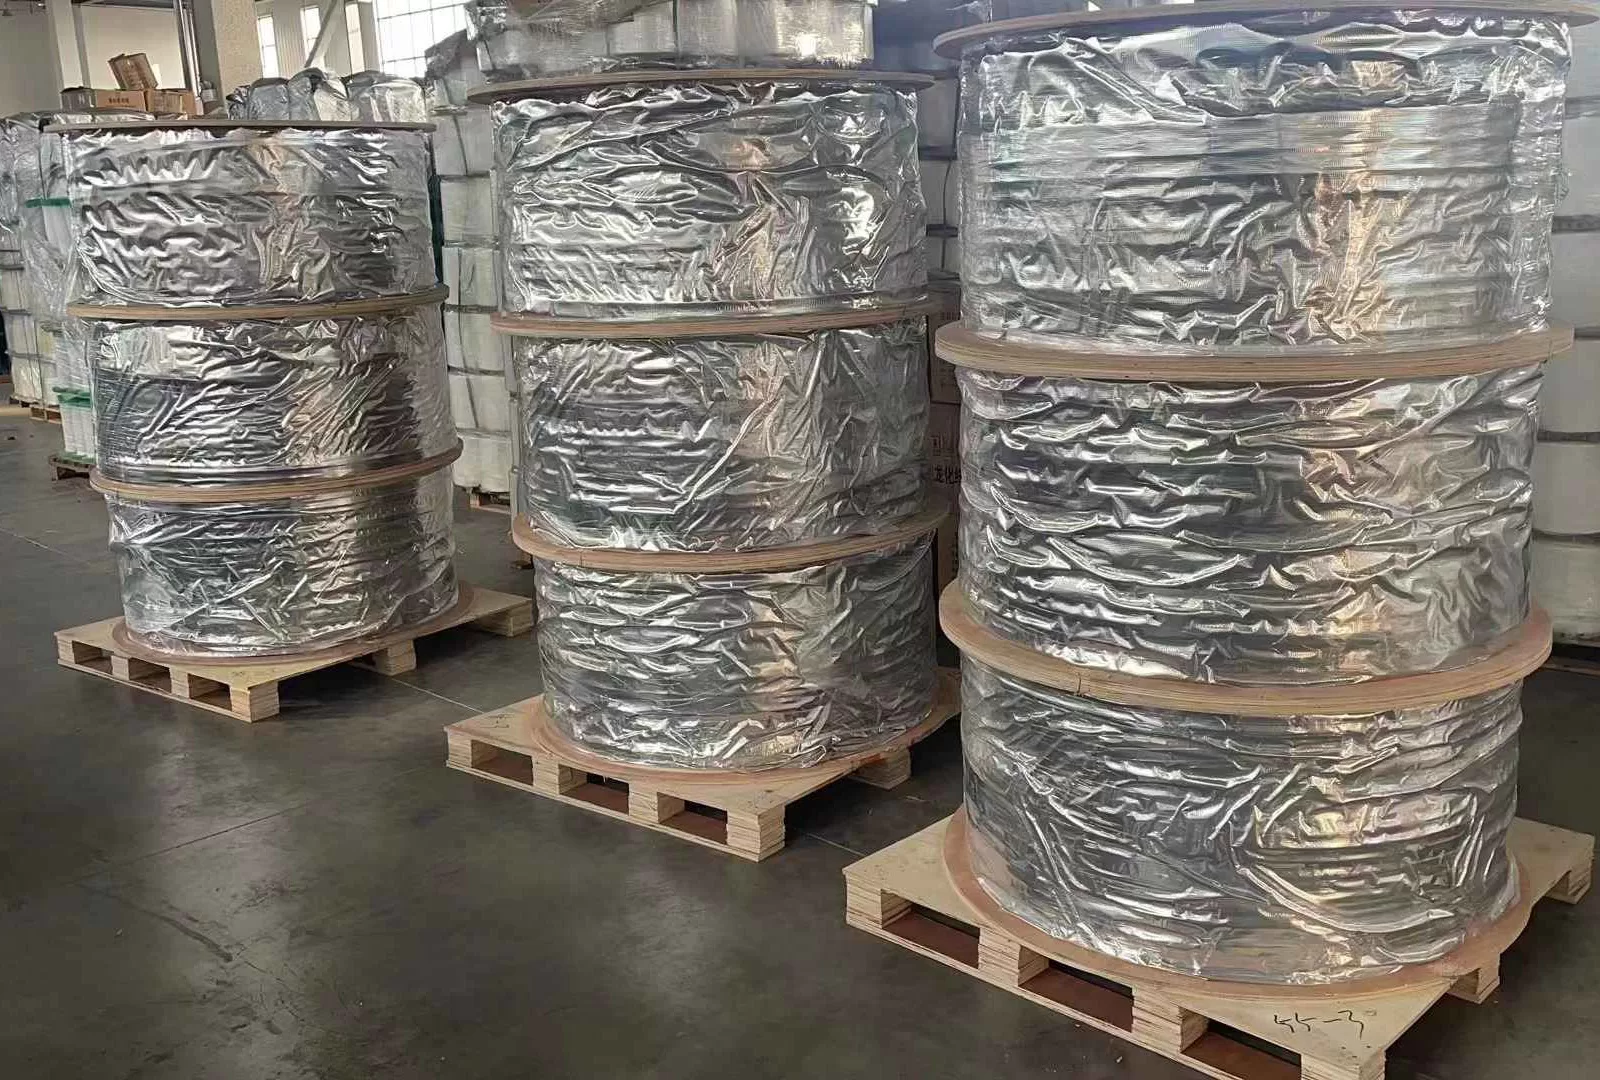
- Global Logistics: Getting the right cell-count and material to your job site exactly when the permit window opens.
Stop Digging. Start Optimizing.
If your network map shows “Duct Exhausted,” don’t call the trenching crew yet. Let us help you find the hidden capacity in your existing footprint.
Ready to assess your project?
Whether you are planning a campus-wide upgrade or a critical urban expansion, our technical team is ready to assist with calculations, samples, and deployment strategies.
Contact us today:
📧 Email: info@smartosp.com
🌐 Website: www.smartosp.com
Don’t let your network’s growth be limited by the diameter of a pipe. Choose the flexible future.